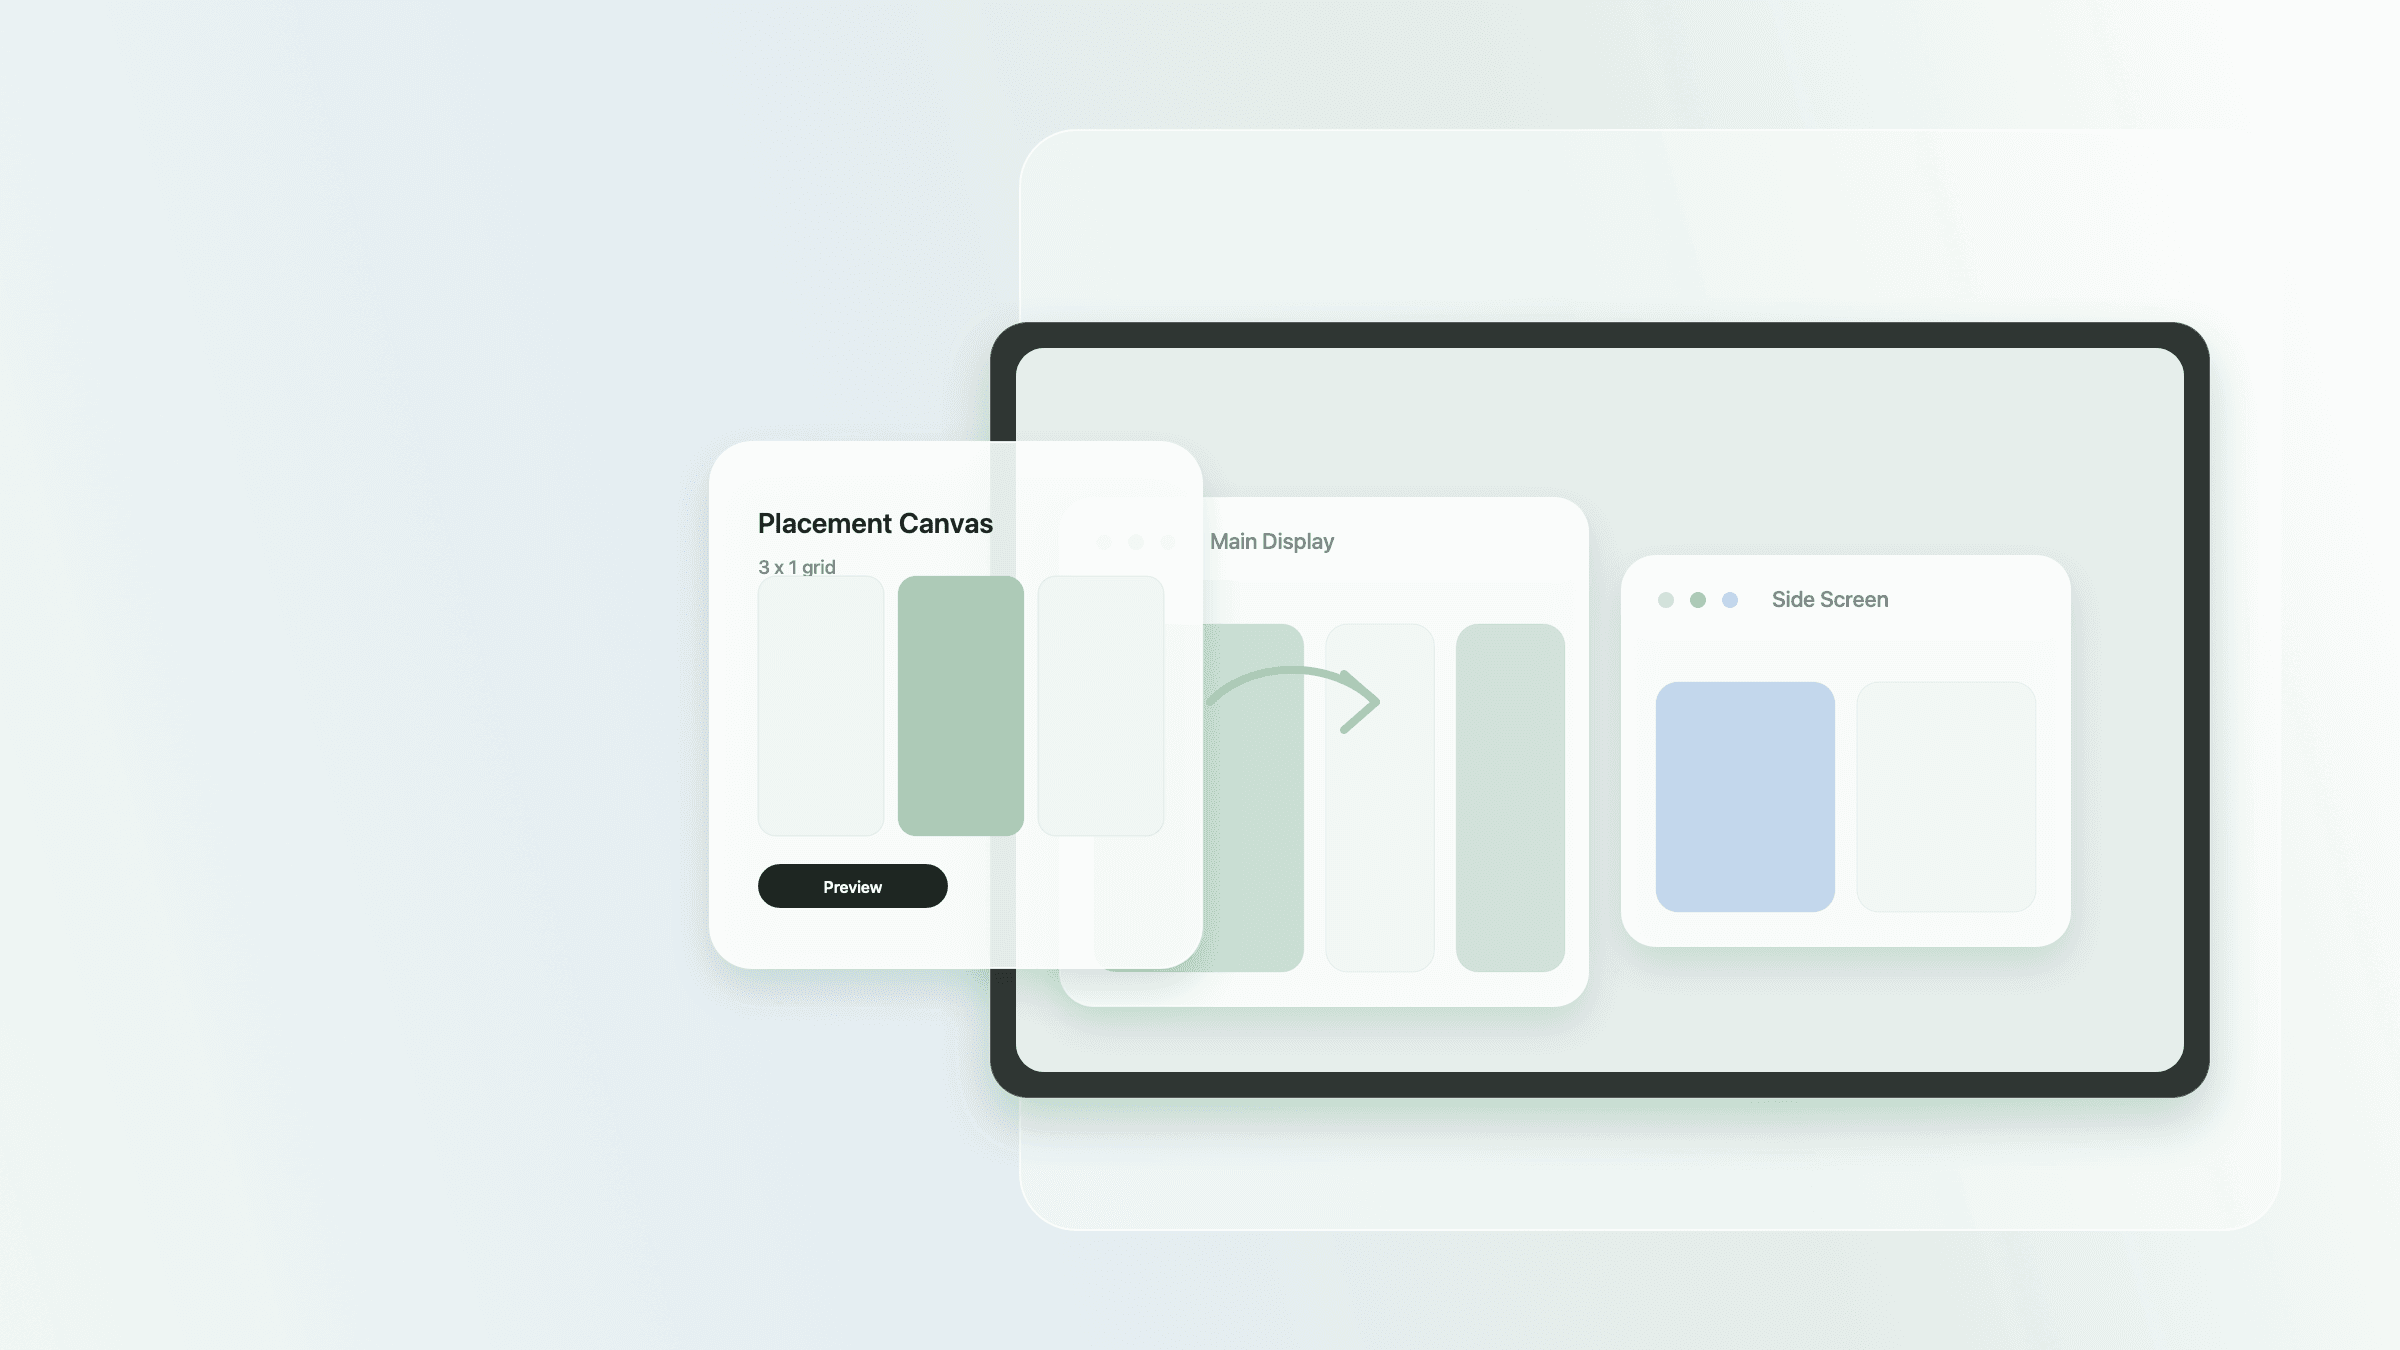
 ScreenX
Native macOS window manager
ScreenX
Design your desktop canvas with quick layouts, per-screen grids, live drag previews, and saved workspaces across one monitor or many.
- Latest
- 1.0.6
- macOS
- 13.0+
- Size
- 3.8 MB
Main features
Everything stays fast, visible, and under your control.
Drag placement
Hold Shift, drag a window, preview the target area, and release to place it.
Quick layouts
Use hotkeys for halves, thirds, quarters, center, maximize, and two-thirds layouts.
Per-screen grids
Give every connected display its own rows, columns, spacing, and canvas behavior.
Saved workspaces
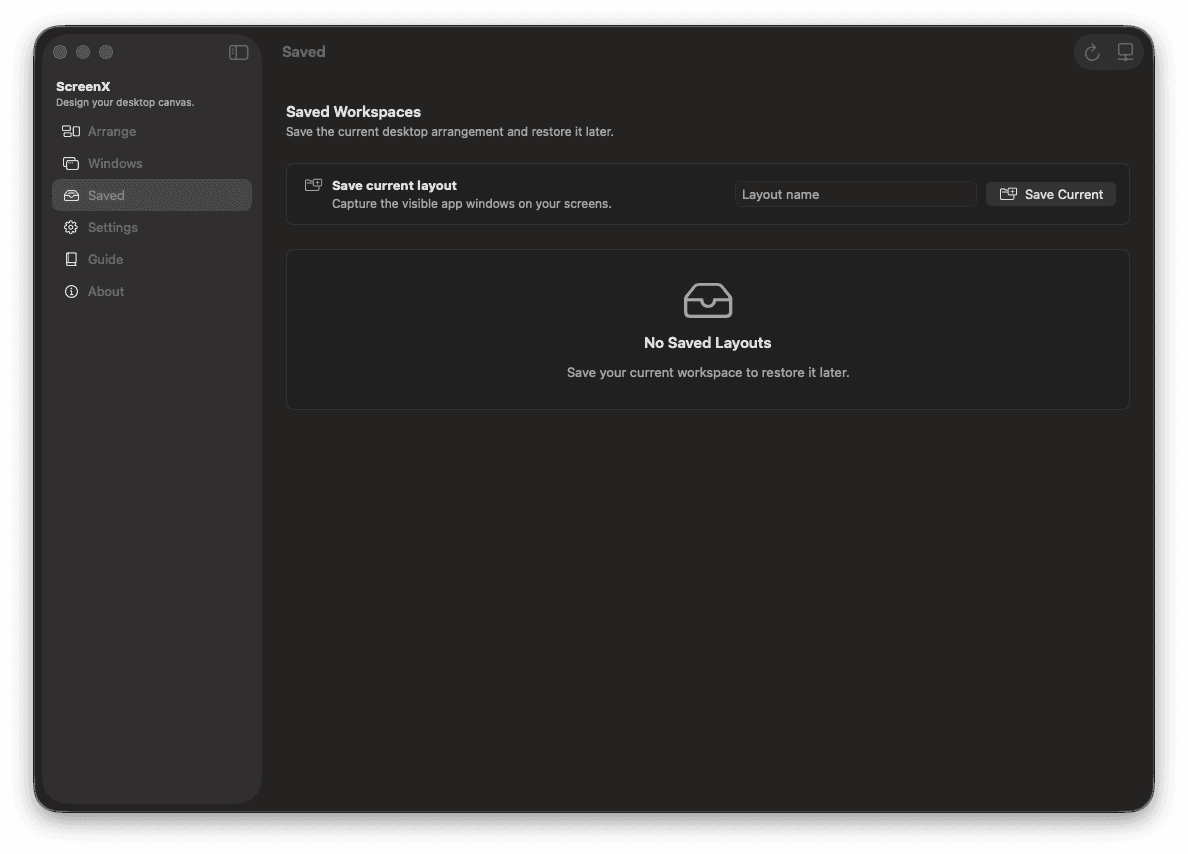
Capture familiar arrangements and restore windows back into place later.
How to use ScreenX
Move windows without learning a complicated tool.
Think of each display as a canvas. ScreenX lets you choose a space visually, with a keyboard shortcut, or from a simple grid. Start with the presets, then save the arrangements you use every day.
Pick the app window
Click the app you want to move. ScreenX works with the active window on your Mac.
Choose a placement style
Use Shift-drag for a live preview, open the canvas, or press a quick layout hotkey.
Preview the space
ScreenX shows the target area first so you can see where the window will land.
Let ScreenX fit it
Release or choose the zone, and ScreenX moves the window into that exact area.
Default controls
Hotkeys are visible, editable, and made for normal Mac users.
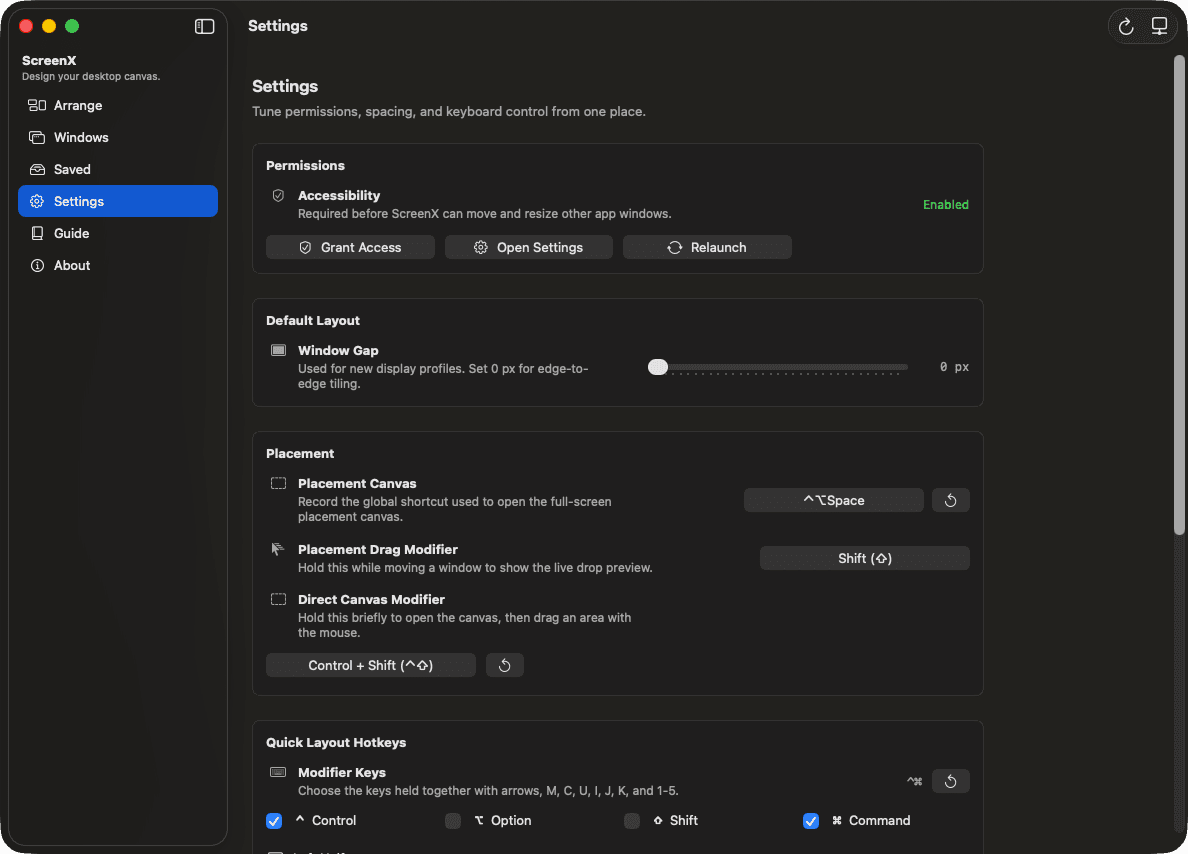
ScreenX starts with sensible defaults. You can change the drag modifier, placement canvas shortcut, and quick-layout modifier keys from Settings.
Drag placement
Hold Shift while dragging a window. A live preview appears, then ScreenX fits the window when you release.
Placement Canvas
Open the full-screen canvas when you want to choose a grid area without dragging.
Quick layouts
Move the active window instantly into halves, thirds, corners, center, or maximize.
App interface
See the real ScreenX controls before you install.
ScreenX keeps the macOS interface familiar: a native sidebar, practical controls, visible shortcuts, and focused screens for arranging, choosing, saving, and tuning windows.
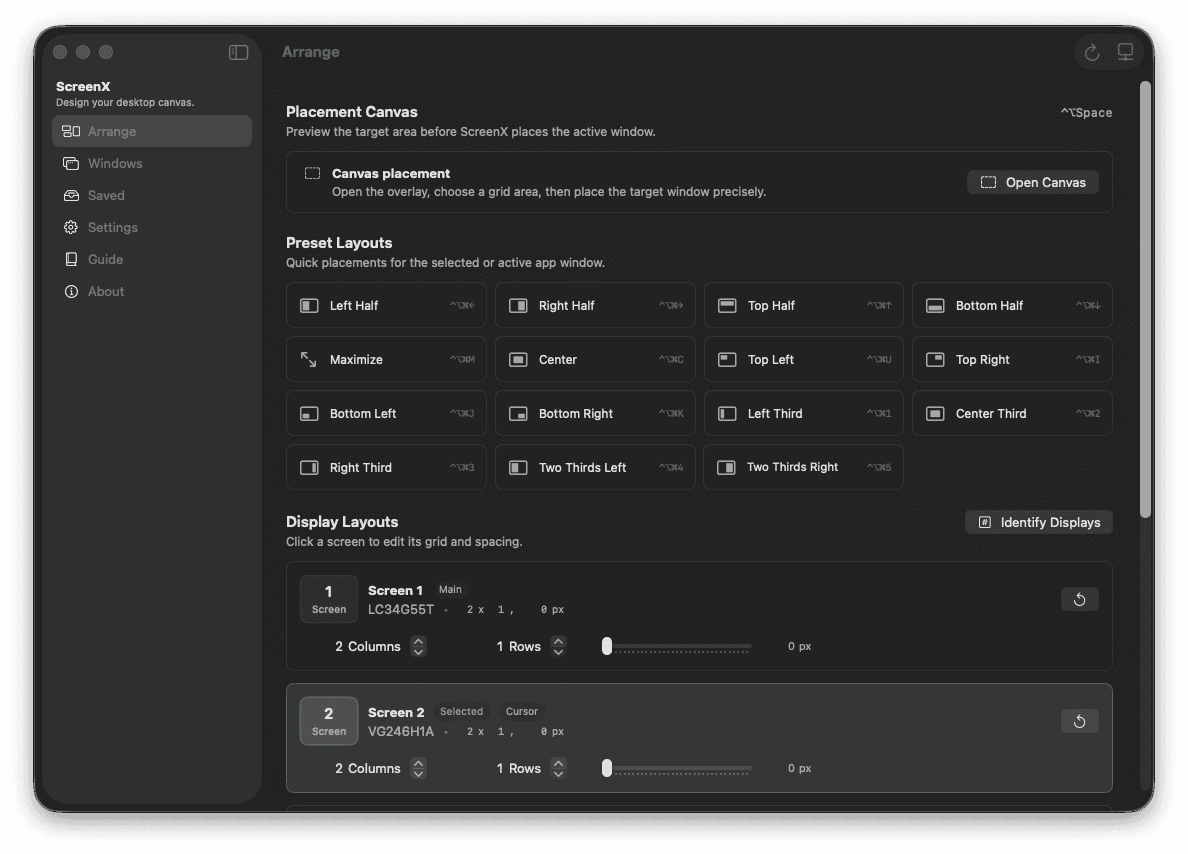
Arrange
Create the grid for each display, choose fast presets, and set gaps before placing windows.
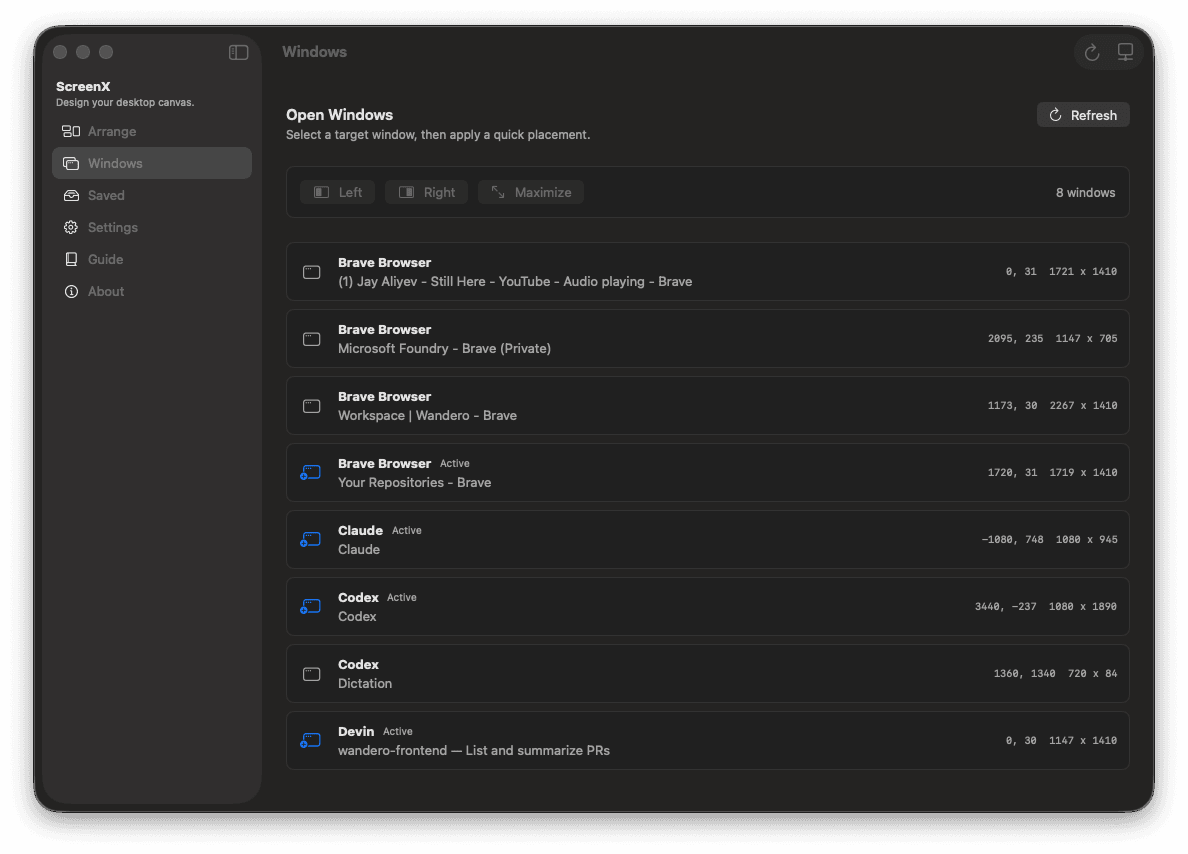
Windows
Select the exact open window you want to move, then apply left, right, maximize, or any canvas placement.
Saved
Capture your current desktop arrangement and bring the same workspace back later.
Settings
Change the drag modifier, placement canvas shortcut, quick-layout modifiers, and default spacing.
Workspace canvas
Shape each display around the way you actually work.
ScreenX reads the active window and the visible area of the display, then places the app into the exact layout you choose. It supports simple splits, custom grids, and saved arrangements without needing Screen Recording permission.
Install
Download, drag to Applications, then start arranging.
- 1Download the notarized DMG.
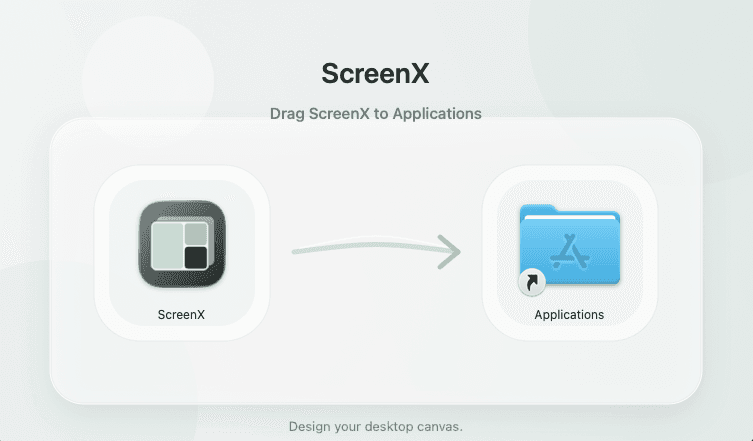
- 2Drag ScreenX into Applications.
- 3Allow Accessibility access.
- 4Arrange the active window with drag, canvas, or hotkeys.
Latest release
ScreenX 1.0.6
Makes ScreenX a permanent menu-bar utility with no Dock icon, while keeping automatic startup enabled by default.
b24467310417259705504166cd6c60ffa5628f8a3c7a883693c2e03a801f156cFAQ
Clear answers before you install.
ScreenX is built for normal Mac users who want predictable window placement without adding a complicated workspace system.
What is ScreenX?
ScreenX is a native macOS window manager that helps you arrange open app windows with live drag previews, quick layout hotkeys, per-screen grids, and saved workspaces.
Does ScreenX need Screen Recording permission?
No. ScreenX controls window position through macOS Accessibility permission and does not need Screen Recording to arrange windows.
Can each display have a different layout?
Yes. ScreenX supports per-display rows, columns, and gaps so a laptop, ultrawide display, and vertical monitor can each use a different canvas.
Is ScreenX signed and notarized?
Yes. Public ScreenX downloads are Developer ID signed, Apple-notarized, and stapled for Gatekeeper.
Is ScreenX open source?
Yes. ScreenX is open source under the MIT License, and the source code is available on GitHub at SyntaxFear/screenX.